
TL;DR
Moving your rig into a closet or another room is the most effective way to reduce noise. Proper placement, sealing gaps, and using absorption materials create a controlled sound environment, avoiding harsh reflections and heat buildup.
Ever tried recording in a tiny closet only to get a boomy, echoey mess? You’re not alone. The truth is, the best way to quiet a noisy rig isn’t just adding foam — it’s about moving it far away from your ears.
If you’ve got a high-powered AI workstation or a gaming beast that sounds like a jet engine, the secret isn’t just in dampening. It’s in where you put it, how you treat the space, and making sure heat and sound don’t bounce back at you. This guide cuts through the noise to show you practical, real-world tactics for turning a closet into a quiet, professional-quality workspace.
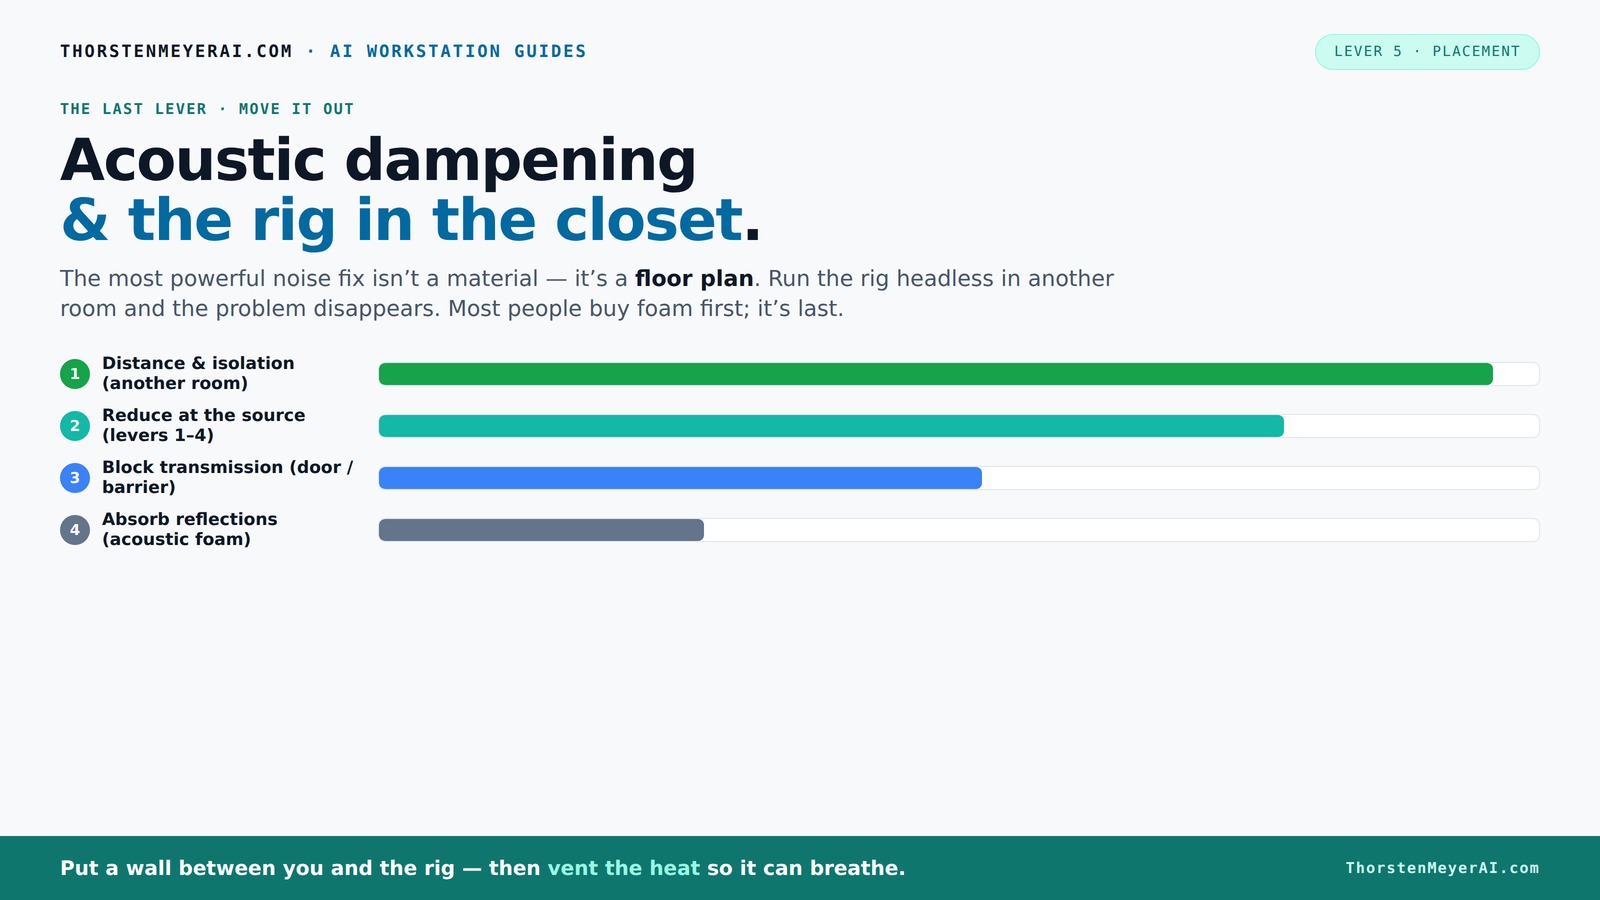
Acoustic dampening
& the rig in the closet.
The most powerful noise fix isn’t a material — it’s a floor plan. A rig you can’t hear because it’s in another room beats any amount of foam. Tap the approaches in Part 1 to see what actually works.
(another room)
(levers 1–4)
(door / barrier)
(acoustic foam)
Contain the noise, not the heat
Key Takeaways
- Moving your rig into another room or closet drastically cuts noise and reflections, often more than foam treatments.
- Placement of acoustic treatment should prioritize reflection points: behind the mic, side walls, and ceiling for best sound control.
- Sealing gaps around the door and walls enhances sound isolation, preventing leaks and echo.
- Proper ventilation and heat management are critical when placing high-power rigs in enclosed spaces — use fans or ducted airflow.
- DIY materials like blankets, rugs, and foam can be effective but require strategic placement and coverage for best results.
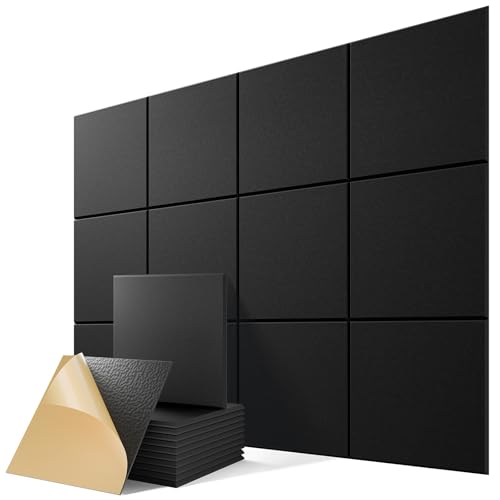
12 Pack Self-Adhesive Acoustic Panels, 12" X 12" X 0.4" High-Density Sound Proof Foam Panels for Walls, Soundproof Wall Panels for Home & Office (Black)
- Effective Noise and Echo Reduction: Absorbs noise and minimizes echo
- Easy Peel-and-Stick Installation: Quick DIY setup without tools
- Premium Eco-Friendly Material: Long-lasting sound absorption with polyester fiber
As an affiliate, we earn on qualifying purchases.
As an affiliate, we earn on qualifying purchases.
Why Acoustic Dampening Is Not the Same as Soundproofing
Acoustic dampening and soundproofing often get tangled up, but they’re different. Dampening materials like foam or blankets soak up the reflections inside a space, softening echoes and reducing harshness. Think of it as softening your voice so it doesn’t bounce around.
Soundproofing, on the other hand, blocks sound from escaping or entering. It involves sealing cracks, adding dense drywall, or installing specialized barriers. If your goal is silence — not just better sound quality — you need both. But for a closet used as a voice booth or AI rig, focus first on dampening to tame reflections, then seal gaps for better isolation.
According to industry experts, most small-space echo issues can be fixed with about 20-30% wall coverage with absorption panels, but sealing gaps around the door and walls makes a huge difference in preventing noise leakage[1].
Understanding this distinction is crucial because many assume adding foam will solve all their problems. In reality, dampening improves clarity and reduces echo, but without sealing gaps, sound will still escape and noise will leak in. Conversely, over-sealing without proper dampening can make a space sound unnaturally dead or muffled. Striking the right balance ensures your space sounds natural and is effectively isolated.

Focusound 52 Pack Acoustic Foam Panels 1" x 12" x 12" Sound Proof Foam Panles Soundproofing Noise Cancelling Wedge Panels for Home Office Recoding Studio with 300PCS Double-Side Adhesive
- Soundproofing Design: Triangular grooves for noise absorption
- Includes Adhesive Tape: 300pcs double-sided adhesive for easy installation
- Easy Shape Recovery: Soak in water to restore shape within 48 hours
As an affiliate, we earn on qualifying purchases.
As an affiliate, we earn on qualifying purchases.
Where to Place Sound Treatment in a Closet for Best Results
Placement matters more than you think. Start with the microphone position. Place your mic where the reflections are least intense — usually slightly off the wall and away from reflective surfaces.
Next, treat the primary reflection points: behind the mic, the side walls, and the ceiling. Use acoustic panels, blankets, or foam to absorb sounds hitting these spots. For example, hanging a blanket behind your mic reduces the echo bouncing back into the capsule.
Corners tend to trap bass and create low-frequency buildup. If you notice muddiness in recordings, add bass traps in the corners. For most closet booths, a combination of foam panels at reflection points and some bass trapping in corners delivers a balanced sound.
Remember: the door is a major weak point. Cover it with foam or blankets, and seal gaps with weatherstripping to prevent sound leakage and reflections.
Strategic placement of these materials isn't just about blocking sound; it’s about shaping the room’s acoustic environment. Proper positioning reduces unwanted echoes and standing waves, which can color your recordings and make editing more difficult. The tradeoff is that over-treating can deaden the room too much, making it sound unnatural; thus, understanding the room’s specific acoustic behavior is key to effective placement.

Audimute Soundproofing Acoustic Door Seal Kit - Door Sweep and Seal - (Large Size)
- Includes Door Seals and Sweep: 2 door seals and 1 door sweep
- Treats up to 4 doors: Suitable for four standard doors
- Blocks sound transmission: Reduces sound leaks around doors
As an affiliate, we earn on qualifying purchases.
As an affiliate, we earn on qualifying purchases.
How to Build a 'Rig in the Closet' Without Cooking Your Hardware
Putting a high-load, heat-generating machine in a closet sounds smart for noise — but heat buildup is the biggest danger. A sealed closet traps hot air, causing temperatures to soar and throttling your hardware.
To keep your rig cool, add ventilation. This can be as simple as installing a quiet exhaust fan or passive vents. For serious setups, consider a purpose-built soundproof cabinet with ducted airflow and temperature control, which balances noise reduction and cooling[2].
For example, a DIY closet rig with a small exhaust fan and a few vents can keep temperatures in the safe zone (around 70-75°F), even during long, intensive runs. Use an AIO liquid cooler with exhaust ducts to move heat out efficiently[3].
Plan your airflow. Place a fan at the bottom as intake and an exhaust at the top to create a gentle airflow pattern that removes hot air and brings in cool air without creating harsh noise or reflections. Learn more about acoustic dampening, placement, and the 'rig in the closet' setup.
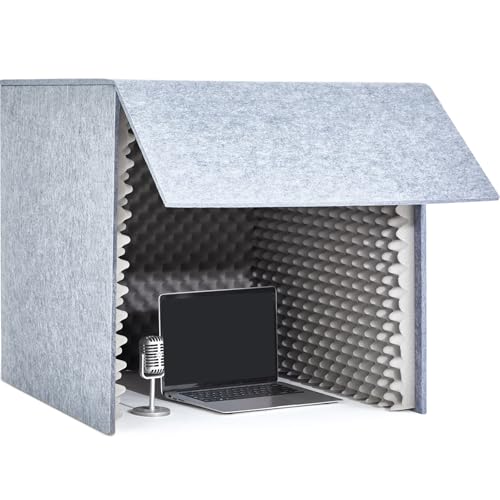
Pushglossy 28 x 28 x 28 Inch Desktop Soundproof Cover Portable Vocal Recording Booth Vocal Absorbing Shield Microphone Isolation Booth Cube for Sound Clearer Home Music Studio Podcasts Recording, Grey
- Premium Soundproof Material: Acoustic cotton and polyester fiber construction
- Multi-layer Sound Absorption: 12mm board and 50mm sound cotton layers
- Effective Noise Reduction: Reduces reverb and external noise
As an affiliate, we earn on qualifying purchases.
As an affiliate, we earn on qualifying purchases.
How to Use Materials That Make Your Closet Sound Better and Quieter
Absorbing reflections and controlling low-end boom is easier with the right materials. Thick acoustic panels, moving blankets, rugs, and even old quilts are your friends. They soften surfaces and reduce echo.
For a typical closet, start with about 20-30% wall coverage. Hang foam panels on the ceiling, behind the mic, and along the side walls. Cover the door with a thick blanket or foam to cut sound escape.
For low-frequency issues, add bass traps in the corners. These are denser, thicker panels that absorb the deep rumble that often causes muddy recordings. In a small space, even 2-inch panels can make a big difference[4].
Pro tip: Use removable, portable materials like blankets and curtain rods, so you can adjust as you go. The goal is to create a balanced, controlled environment, not just dead silence. Recognizing the tradeoff here is important: overly thick or dense treatment can make the room sound dull or 'boxy,' reducing naturalness and making it harder to monitor accurately. Strategic placement and moderation are key to achieving clarity without sacrificing liveliness.
Common Mistakes to Avoid When Setting Up a Closet Rig
Don’t just stuff the closet with foam and hope for the best. Too often, people focus on corners or only treat one area, leaving echoes elsewhere. Also, sealing gaps without considering heat can turn your setup into an oven.
Another mistake? Ignoring the door. It’s a major sound escape hatch. Cover it with foam or blankets and seal cracks with weatherstripping.
Finally, avoid underestimating the importance of placement. Position your mic carefully, treat reflection points, and plan airflow. A balanced approach beats quick fixes every time.
For example, a DIY closet booth that only adds foam in one corner will still sound boxy. But a full, strategic treatment plan combined with ventilation keeps your recordings clear and your gear cool. Neglecting these details can lead to persistent echo, sound leaks, overheating, or equipment failure, undermining the entire purpose of your setup. The tradeoff is clear: rushed or incomplete setups may seem easier initially but will cost you quality and reliability in the long run.
Frequently Asked Questions
Is acoustic foam enough to make my closet into a recording booth?
Acoustic foam helps reduce echo and harsh reflections, but it doesn’t fully soundproof a closet. You’ll need to seal gaps and consider placement for the best results. Foam makes it sound better, but not silent.
Where should I place panels and blankets in my closet?
Start with the reflection points: behind your mic, side walls, and ceiling. Cover the door with blankets or foam, and add bass traps in corners if bass buildup is an issue. Adjust as needed based on your recordings.
Do I need bass traps in a small closet booth?
Yes. Small spaces tend to trap low frequencies, causing muddiness. Placing bass traps in the corners can tame these problematic frequencies, resulting in clearer recordings.
What’s the cheapest way to improve my closet’s acoustics?
Use blankets, rugs, and weatherstripping around gaps. These DIY options are affordable, effective, and easy to reposition as your setup evolves.
How do I prevent my closet door from ruining my recordings?
Cover the door with foam or blankets, and seal gaps with weatherstripping. This prevents sound leaks and reduces reflections from the door surface.
Conclusion
Turning a closet into a quiet, professional-sounding workspace isn’t about drowning in foam. It’s about strategic placement, sealing gaps, and managing heat. When you think about noise, remember: distance is your greatest ally.
Build your setup smartly—treat reflection points, keep it cool, and your closet can become a secret weapon for voice, video, or AI work. The right choices make all the difference—so get started today, and enjoy the silence behind the scenes.